
Discover Primary Science and Maths Award Application WX018
Step 1 Science
Experiment 1 Baking With Yeast Materials
Baking with Yeast
We were learning about Tacumshane Windmill in our history class. We decided to bake bread with flour that’s made from grinding wheat. We needed just four ingredients to make bread: flour, yeast, sugar and water.
We learned that yeast is a living organism and that it is a single-celled fungus. There are about 160 different types of yeast in the world. The yeast we bought from a supermarket and it was asleep. We learned that the fancy word for this is ‘dormant’.
We needed to make the yeast active again by adding warm water. In order for our bread to rise and be nice and light we needed to add some sugar to the yeast. The yeast eats this sugar and makes a gas called ‘carbon dioxide’. This gas is important as it makes little holes in our bread and makes it fluffy!
You can see the different stages of the bread rising in our photos, we were amazed at how big the dough got! We had to knock it back once and let it prove twice before we baked it. I think you’ll agree it looks delicious…it certainly tasted delicious!
Senior Infants and First Class
Experiment 2 Dancing Raisins Energy and Forces
Dancing Raisins
We were learning about solids, liquids and gases in class. We worked in groups to sort different objects into these three groups. We decided to investigate gas and its properties. We found out that gas rises as the molecules are loosely connected.
We wondered if the gas had enough power to lift an object. We decided it would have to be a small object like a jelly. We knew that fizzy drinks contain a gas called carbon dioxide. After some discussion we decided to use a clear fizzy drink so we could see the items clearly.
Our first experiment was a disaster! We had chosen to use jelly snakes but we found they really didn’t move much. They danced a little at the bottom of the jar. They were too heavy! We learned that day that scientists experience failure mostly in their labs but they always keep trying. We decided to try again with something smaller.
The next week we brought raisins to try…success! We were fascinated as the bubbles of carbon dioxide clung to the surface of each raisin and helped bring it to the surface. Most were not able to reach the surface but instead danced in the liquid.
Senior Infants and First Class
Experiment 3 Lifeboat Construction Design and Make
Designing Lifeboats
We were learning about water safety in S.P.H.E. We decided to design and make our own lifeboats.
Firstly, we designed our boats on paper, discussing what shape we thought would work best. We estimated how many people (peas) we would be able to save on our boat and got to work. We found it hard to mould the plasticine at first. We tried many different shaped boats, but most sunk. After a lot of trial and error we found that a flat bottomed boat with high sides worked best. We also had to make sure there were no cracks in which water could seep through and sink our boat.
The largest amount of passengers saved was 89. Well done Tamika!
Senior Infants and First Class
Experiment 4 Making Butter Materials
Making Butter
We were learning about the farm in class. We learned about all the activities on the farm. We learned that in the past, people used to make their own butter in big barrels called ‘churns’. They used the fat from milk which we call cream. When this cream was churned or shaken up the fat clumps together and separates from the liquid. The liquid left behind is called buttermilk.
We decided to investigate if this was true, We used plastic bottles and shook up the cream. We took turns. It did take a long time and our arms were beginning to hurt! We knew the butter was ready when the cream formed a yellow solid ball inside our bottles. No matter how much more we shook the bottle, we couldn’t mix the buttermilk into the butter. We realised we were finished. We drained the buttermilk off and added a little salt to our butter to make it extra tasty. We tasted our butter on bread. It was very tasty.
Senoir and First class
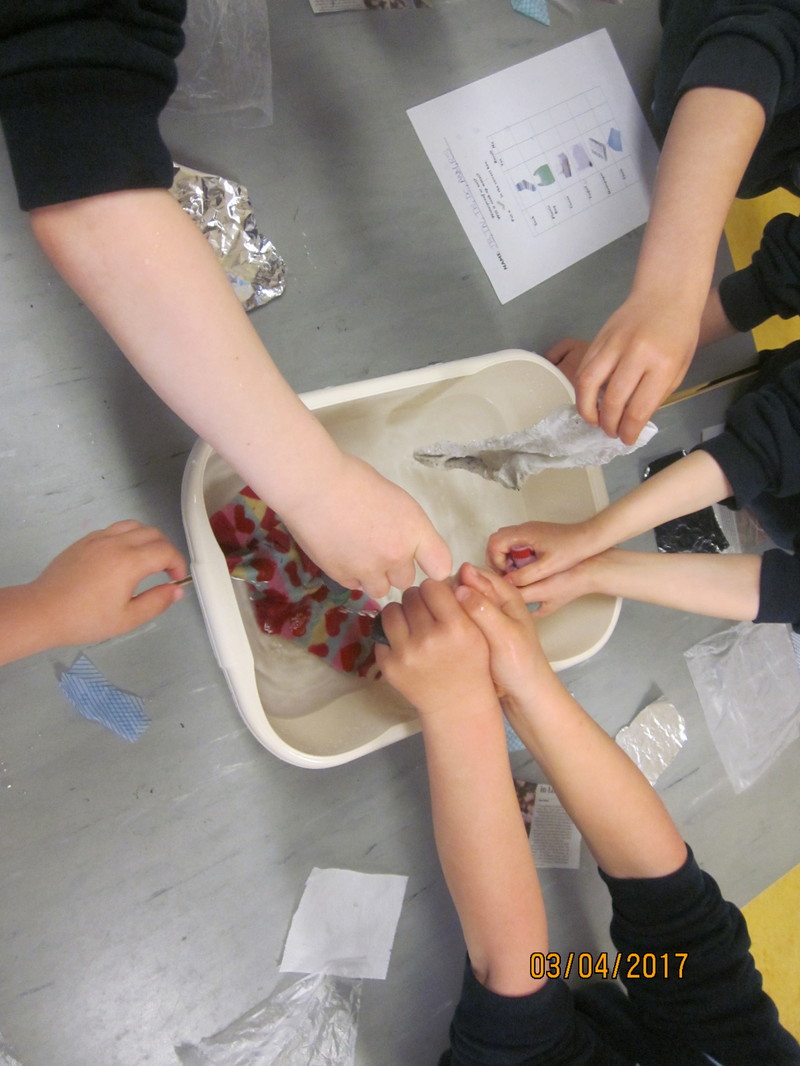
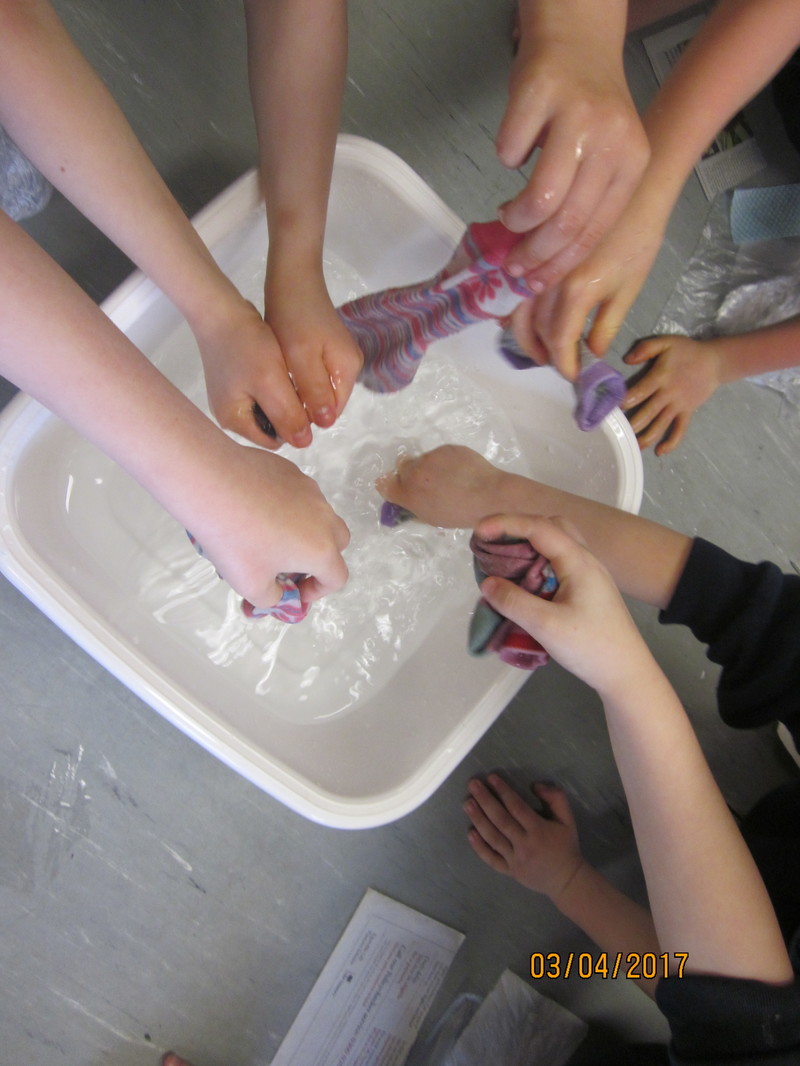
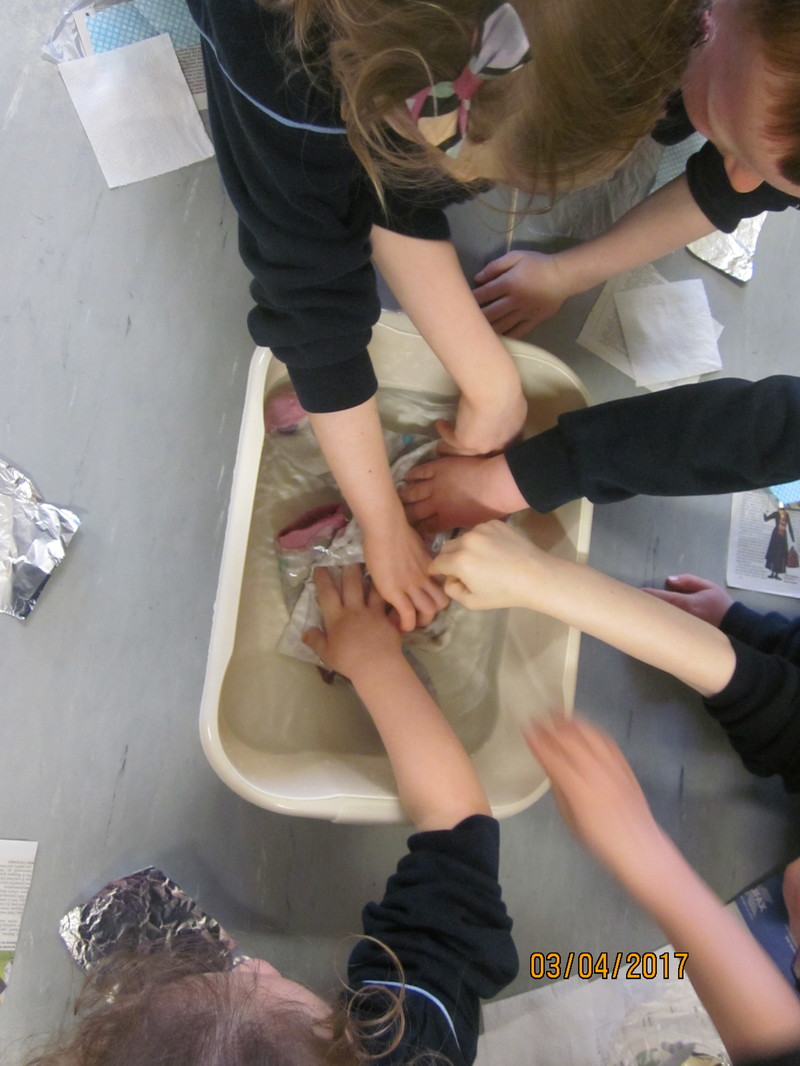
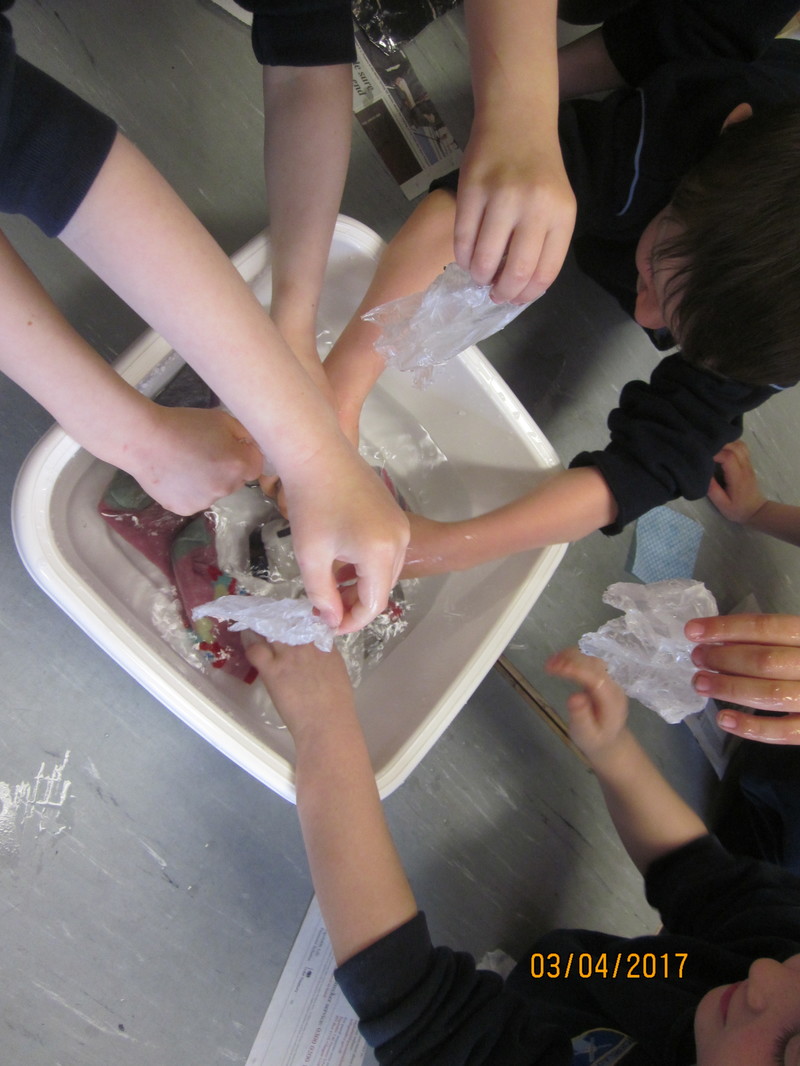
Experiment 5 Red Cabbage Dye Materials
Step 1. We got a head of red cabbage and estimated its weight, it weighed 1 kg. And 4o g.
Step 2. We chopped up the red cabbage and placed it in a pan.
Step 3. We poured one litre of boiling water in to the pan.
Step 4. We left it to steep over night.
Step 5. We collected a variety of items for testing e.g. lemon juice, vinegar, bread soda, shampoo, toothpaste and salt.
Step 6. We placed two squares of kitchen roll on the table.
Step 7. We placed a piece of cotton cloth on top of the kitchen roll.
Step 8. We filled the various items into pipettes.
Step 9. We put one millilitre of each item on our cloth.
Step 10. We created a prediction sheet.
Step 11. We predicted whether the items would be an acid, alkaline or neutral.
Step 12. We got a pipette of red cabbage dye.
Step 13. We put a few drops of red cabbage dye on to each item.
Step 14. We observed the interactions which took place.
Step 15. Vinegar and lemon juice were very acidic as they turned bright pink.
Step 16. Bread soda, toothpaste and fairy liquid were alkaline, while salt, and some shampoos were neutral. The olive oil which we tested was slightly acidic.
We learned a lot from this experiment and we are looking forward to showing this to our parents!
Fifth and Sixth Class
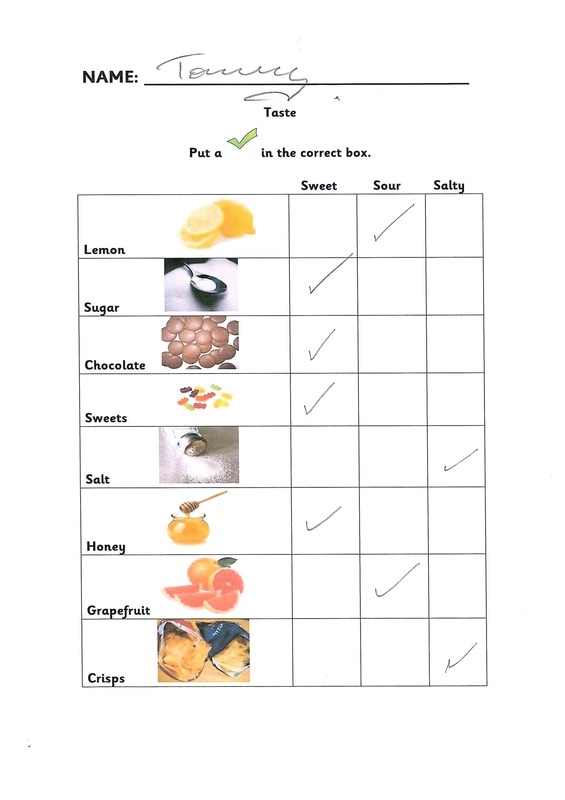
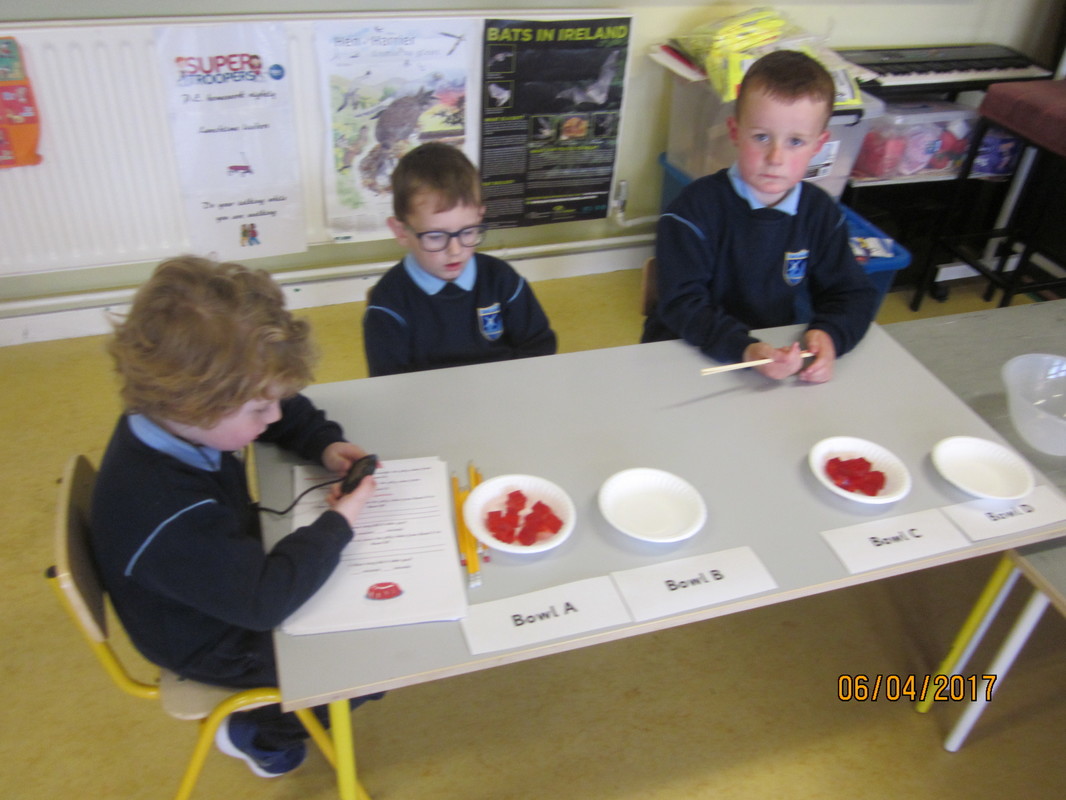
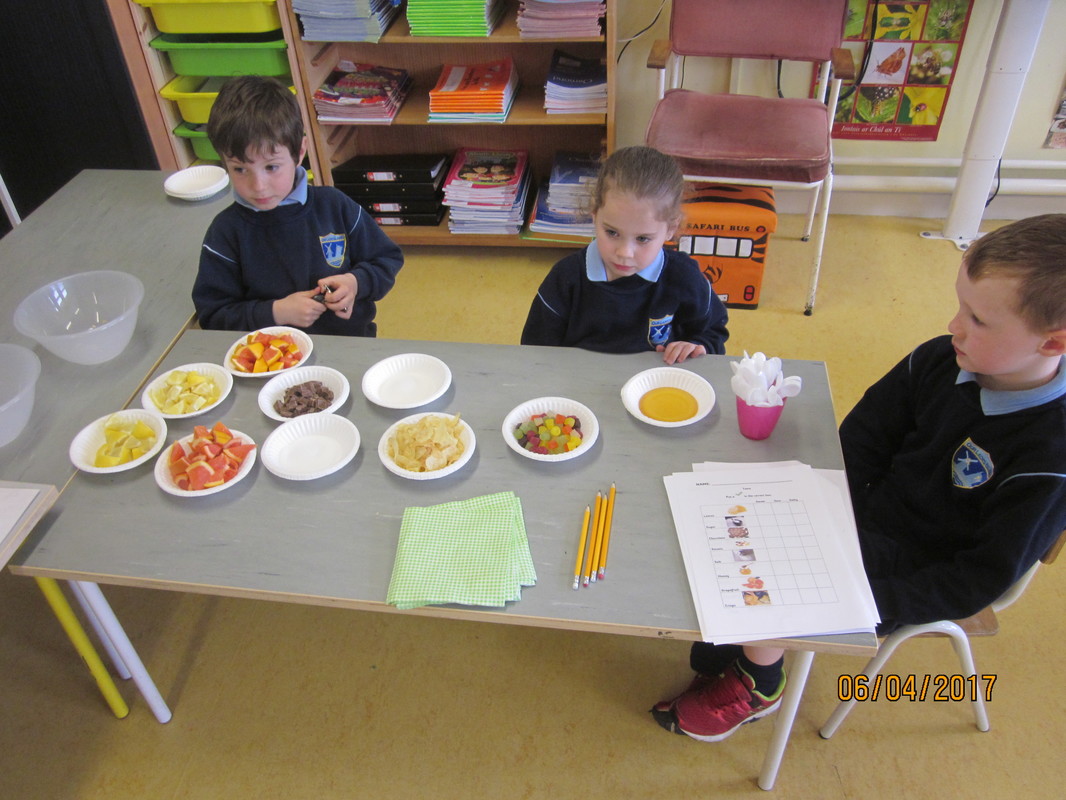
Experiment 6 Taste Living Things
Experiment 7 Planting Enviromental Awareness
and Care
Second and Third Class
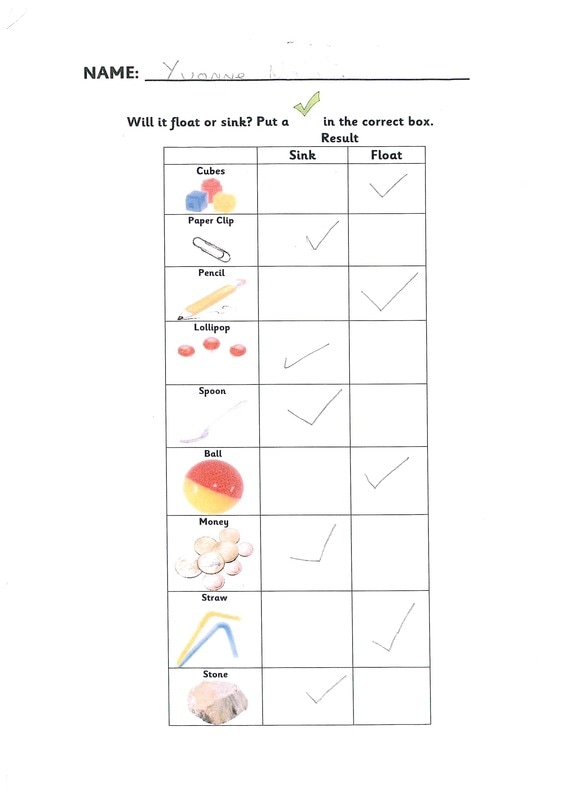
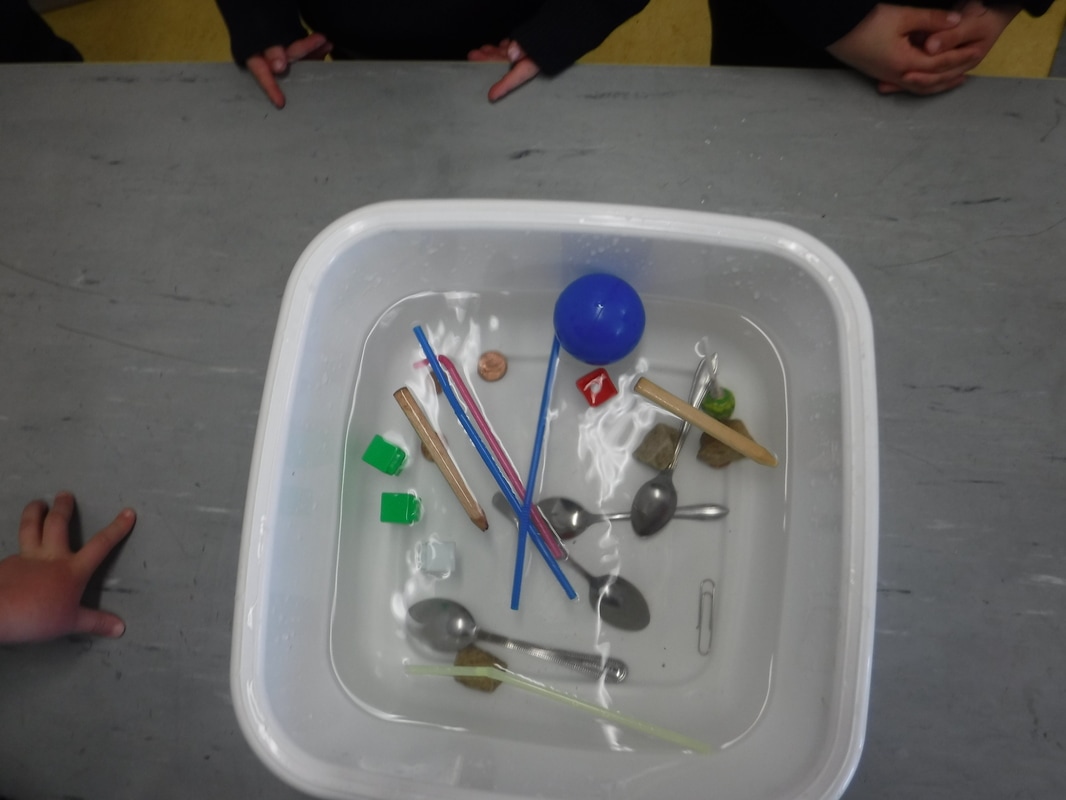
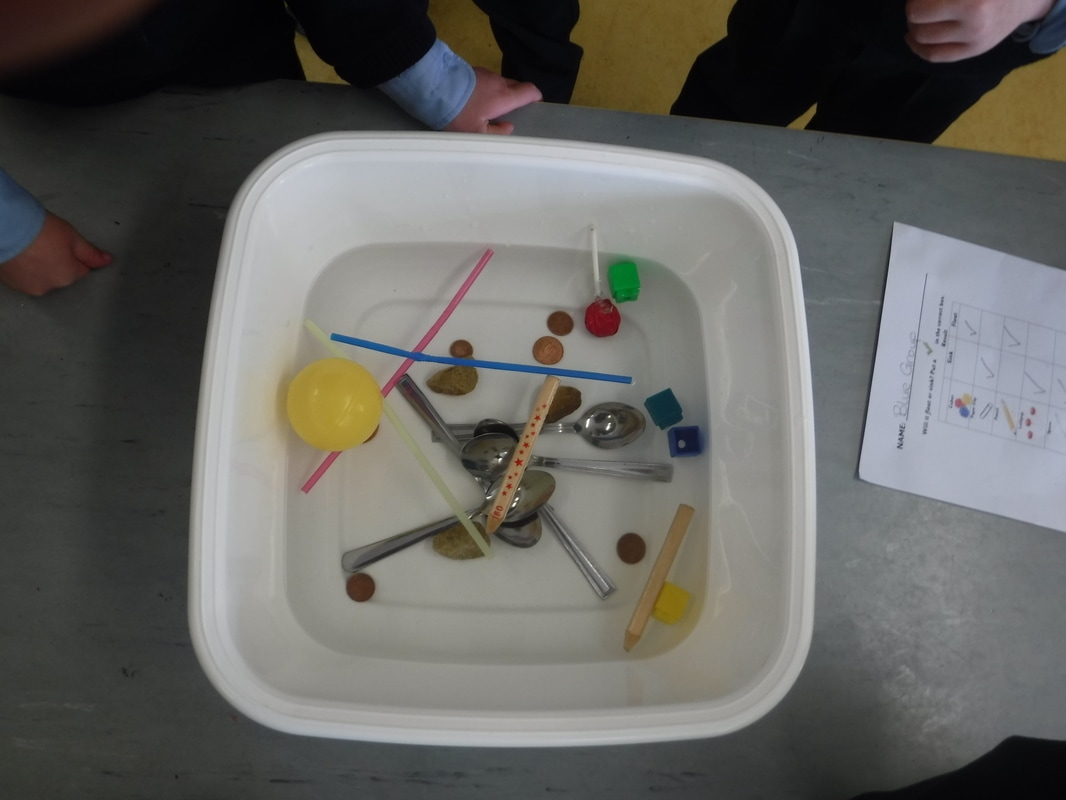
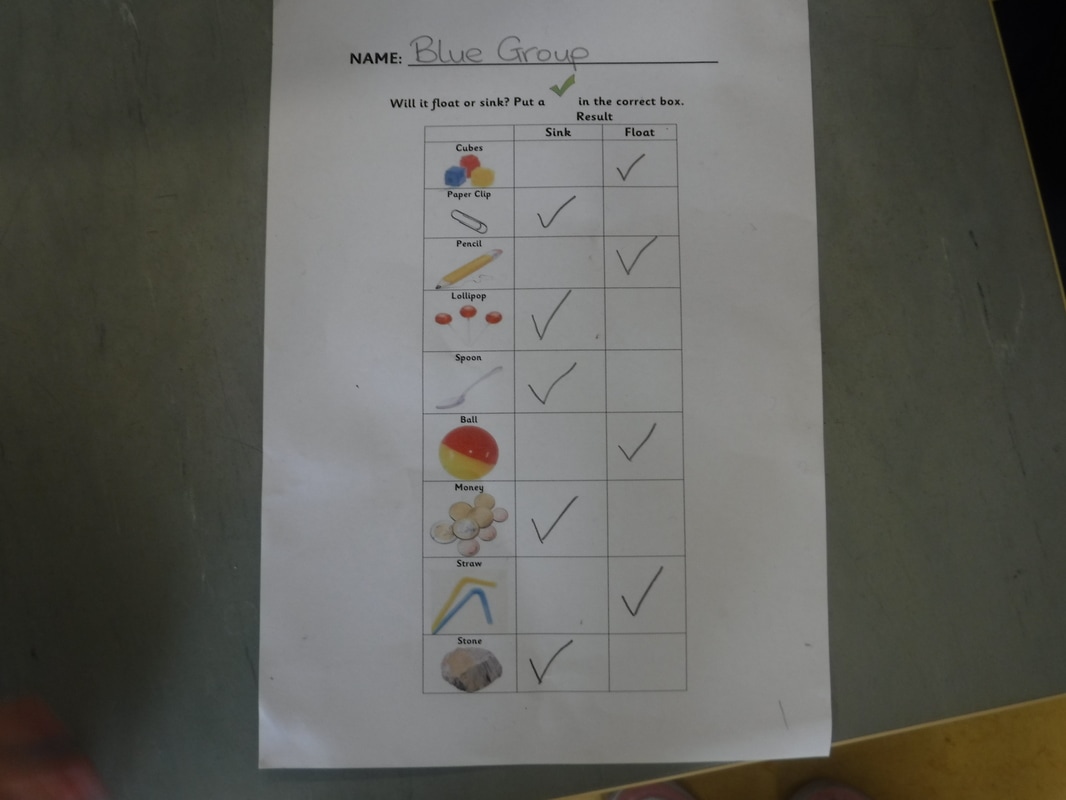
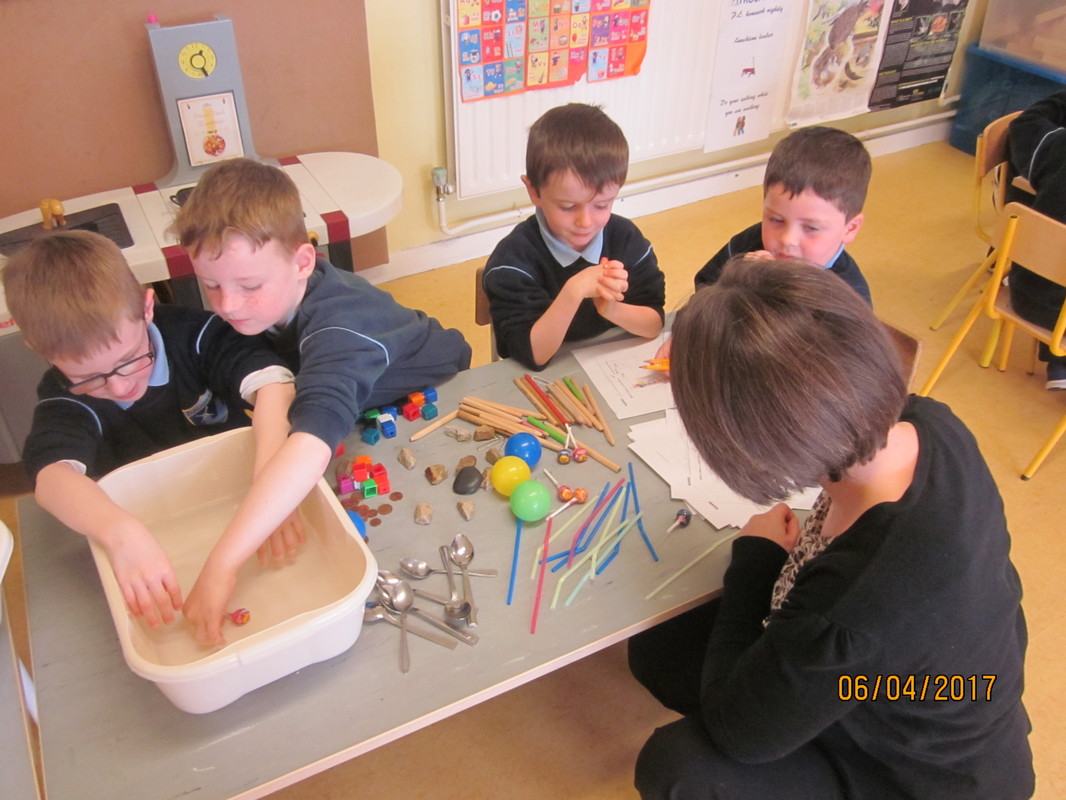
Experiment 8 Floating and Sinking Energy and Forces
Junior and Senior Infants
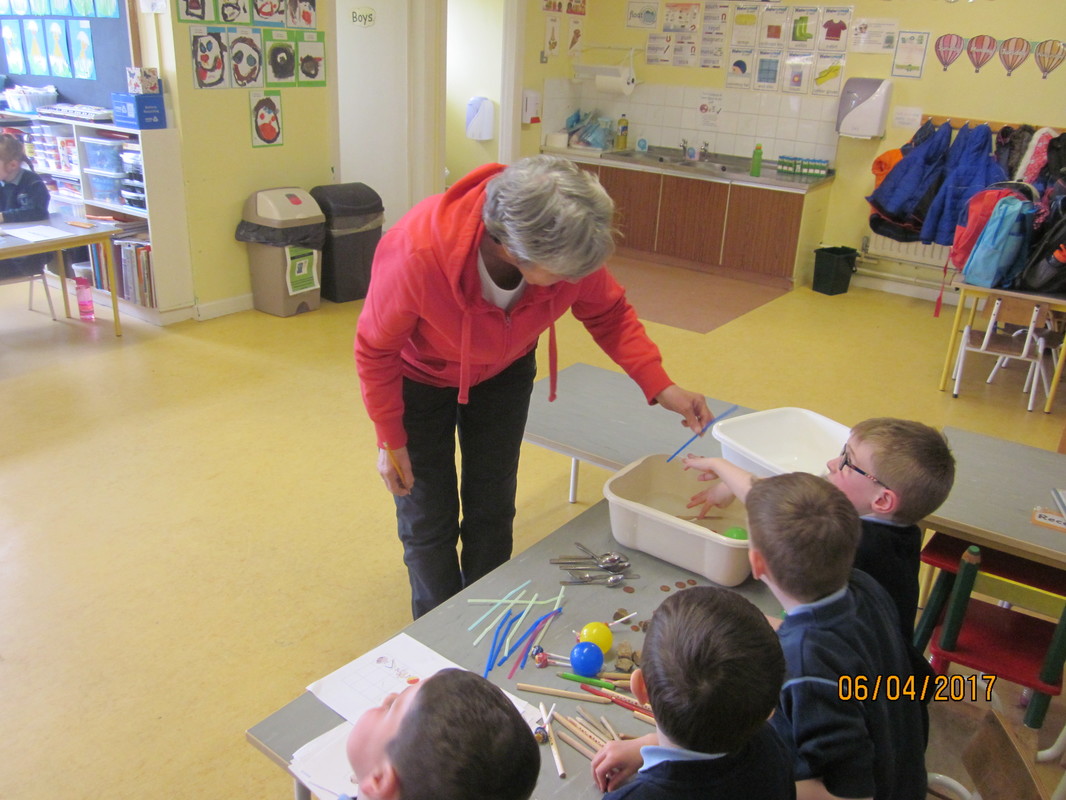
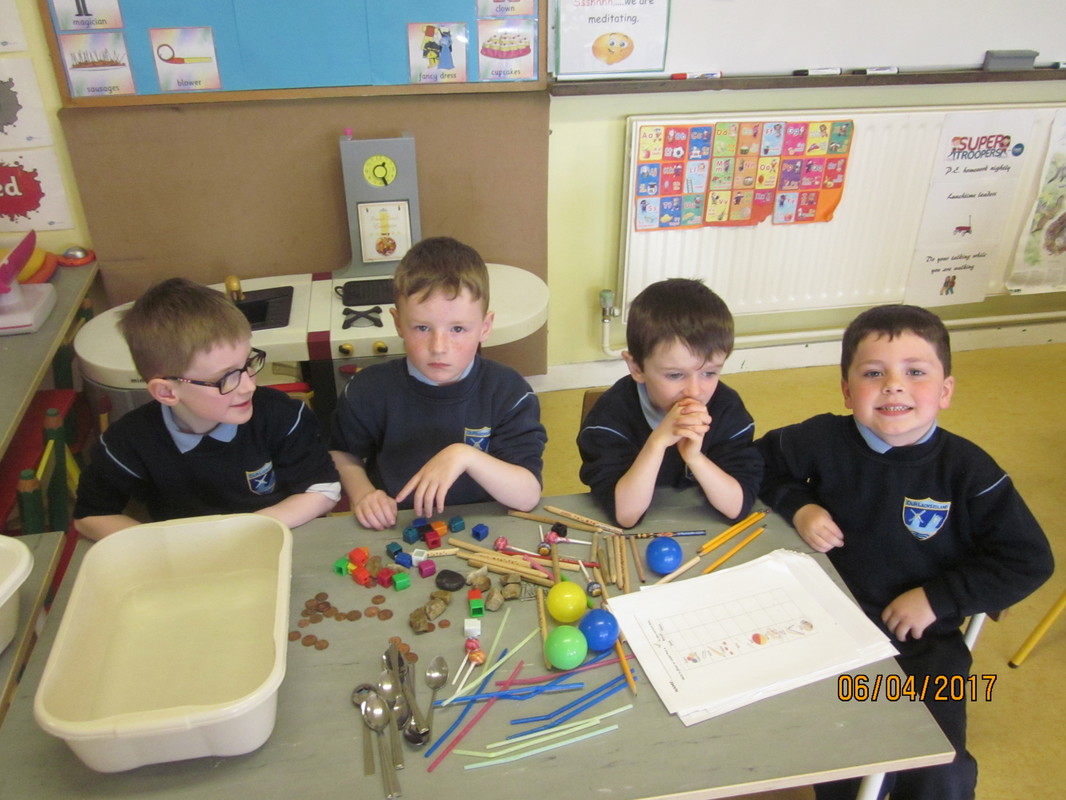
Expeiment 9 Water Proof or not? Materials
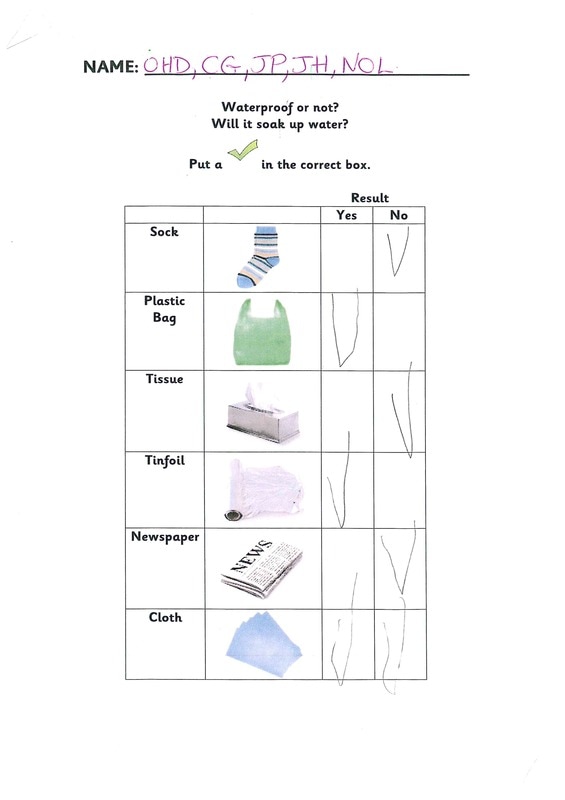

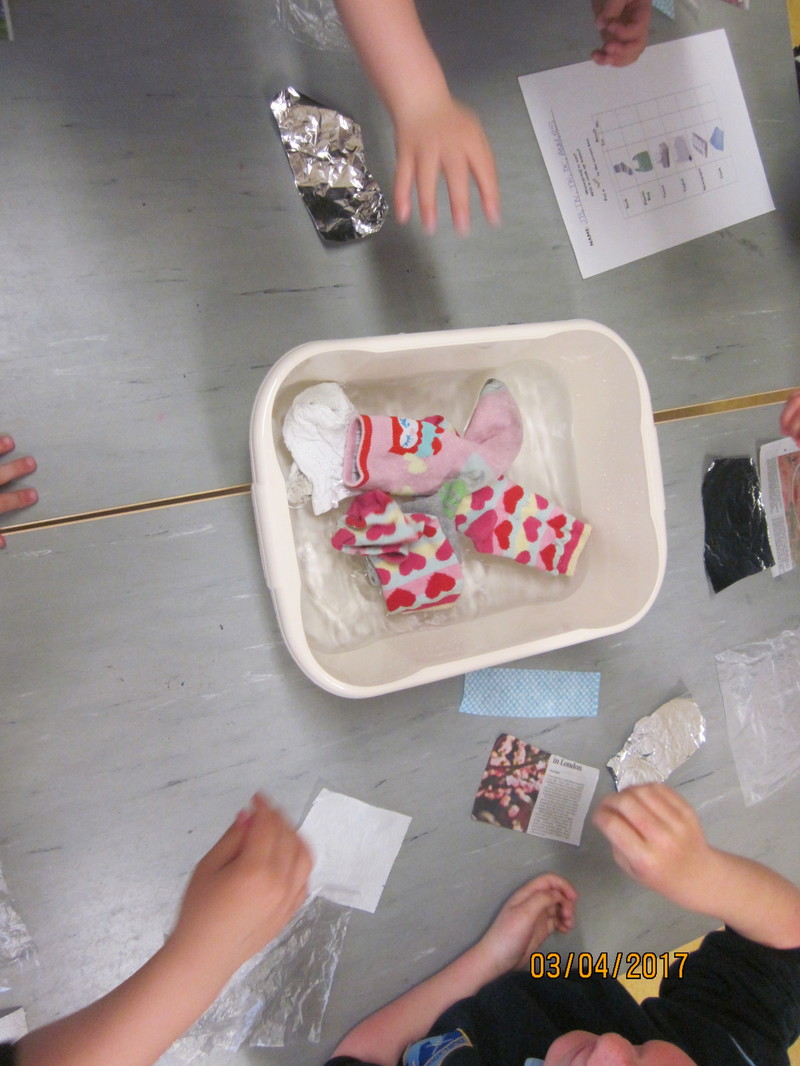
Junior and Senior Infants
Step 1 Science Event
Science Event
|
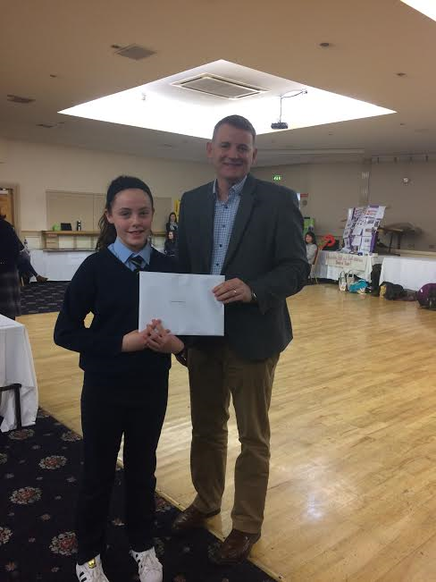
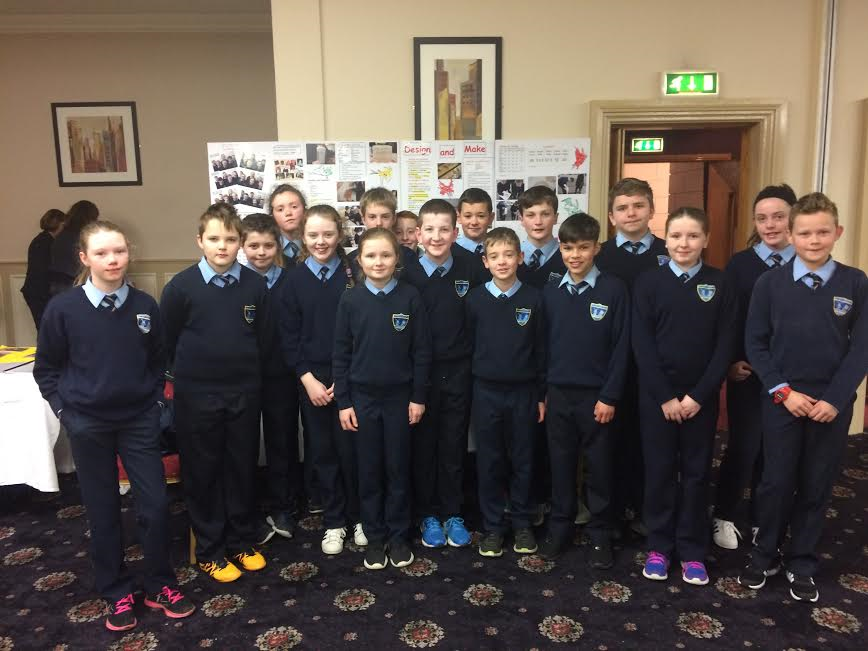
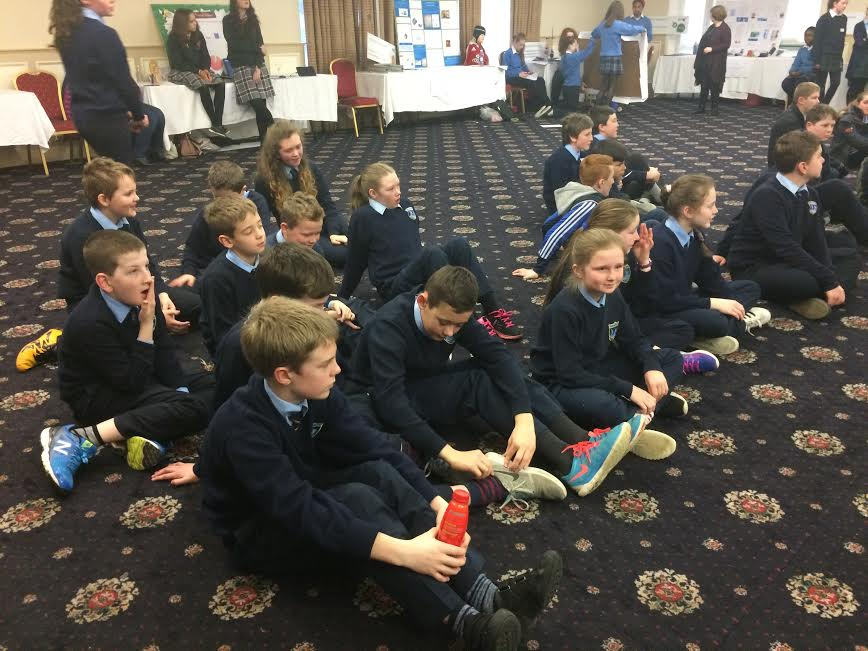
In February our 6th class pupils travelled to Waterford to display our project to other schools in Woodlands hotel. We entered the RDS Primary Science Fair with and we were lucky enough to be chosen to enter a project. Its title was ‘What is the most environmentally friendly cleaner’. We were also excited to get a invitation to Waterford Teacher’s Centre to display our project there on February 3rd 2017.
Firstly, we boarded the bus and arrived after an hour or so. We took our supplies, equipment and of course our project out of the bus and walked inside. There was a big room full of tables with projects being displayed by other students. After we set up the project all the students sat on the floor and Dr. Sean O’Leary Director of Wexford Education Centre presented us with certificates. Alannah Carroll from our school received the certificates on our behalf. Mrs Donnellan and Mrs Walsh split us into two groups. The first group boarded the bus and went to see the Waterford Teachers Centre. When we were there we had our lunch and there were many unique and original paintings there and there was also a quiz. Each group got a chance to take part in the quiz. We all took turns at explaing our project and we also had the opportunity to view the other projects. The titles of some of the projects were: Gender Equality in GAA, Concussion in Rugby, Best Surfing Locations to name but a few. The experience was very interesting. |
Experiment 8 The Life Cycle of the Frog Living Things
Senior Infants and First Class
Step 2 Technology
Examples of children using ICT
A powerpoint by two 6th class students on Finland and Europe.
All senior classes regularly compile powerpoint presentations and we have uploaded one example
Charts compiled by 5th and 6th class for R.D.S 2017
Step 3 Engineering
Design and Make
Making An Incubator
We decided to use a fish tank as an incubator.
- We measured the tank.
- The length was 58cm, the width was 29cm and the height was 29cm.
- We got Con Morris, our local electrician, to put a thermostat on the fish tank.
- We wanted the temperature to be twenty five degrees plus.
- We put the probe inside the fish tank.
- It was only 12 degrees!
- We brainstormed and our list contained different materials including batting, house insulation, tinfoil, card board, wool, bubble wrap and polystyrene sheeting.
- We chose: batting, house insulation, bubble wrap, tin foil and polystyrene sheet.
- We got six identical glass jars.
- We put masking tape on the lids so the nail wouldn’t slip.
- We pierced a hole in the lids using a rock and a nail. (We didn’t have a hammer!)
- We wrapped five of the jars in a different material.
- We kept the sixth jar as a control.
- We pre-heated the jars with warm water.
- We got two jugs of boiling water.
- We put a spoon into the jar to prevent it from cracking.
- Teacher poured 200ml of boiling water into each jar.
- We measured the temperature every five minutes using a Therma Pen.
- We repeated the process three times.
Conclusion:
The house insulation was the most effective.
- We got sheets of polyboard to fit the outside of the tank.
- We attached the sheets to the sides of the fish tank.
- We attached our bulbs to the lid.
- We placed the lid on the incubator and we switched on the lights.
- In 30 minutes the temperature was 20°.
- It wasn’t hot enough!
- Katie Kearns suggested putting a sheet of polyboard under the tank.
- The temperature went up to 25º and stayed there!
Our incubator was ready at last.
Visit from an Engineer
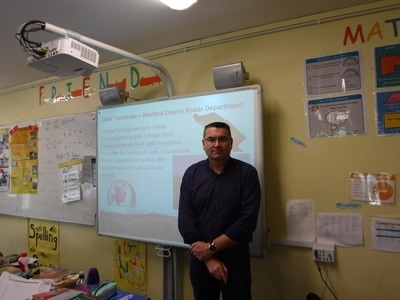
David Codd-Engineer with Wexford County Council spoke to 2nd-6th classes about his work as an engineer. He also delivers The Junior Achievment Programme and this has a strong STEM conponent.
Step 4 Maths
Using maths skills and knowledge as part of science
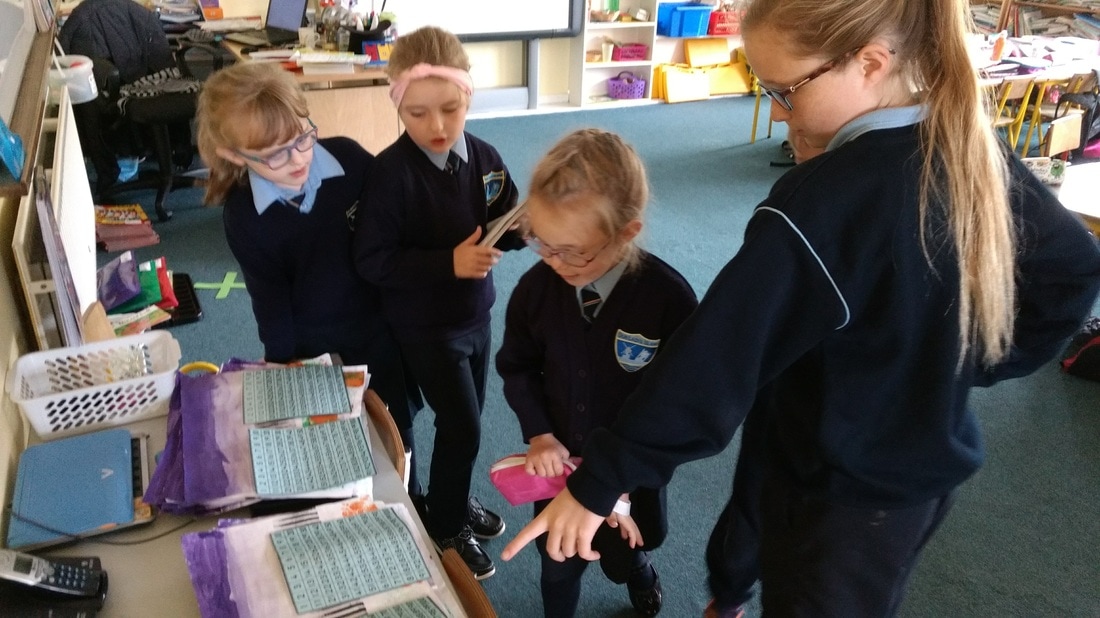
Measurement in Third and Fourth Class
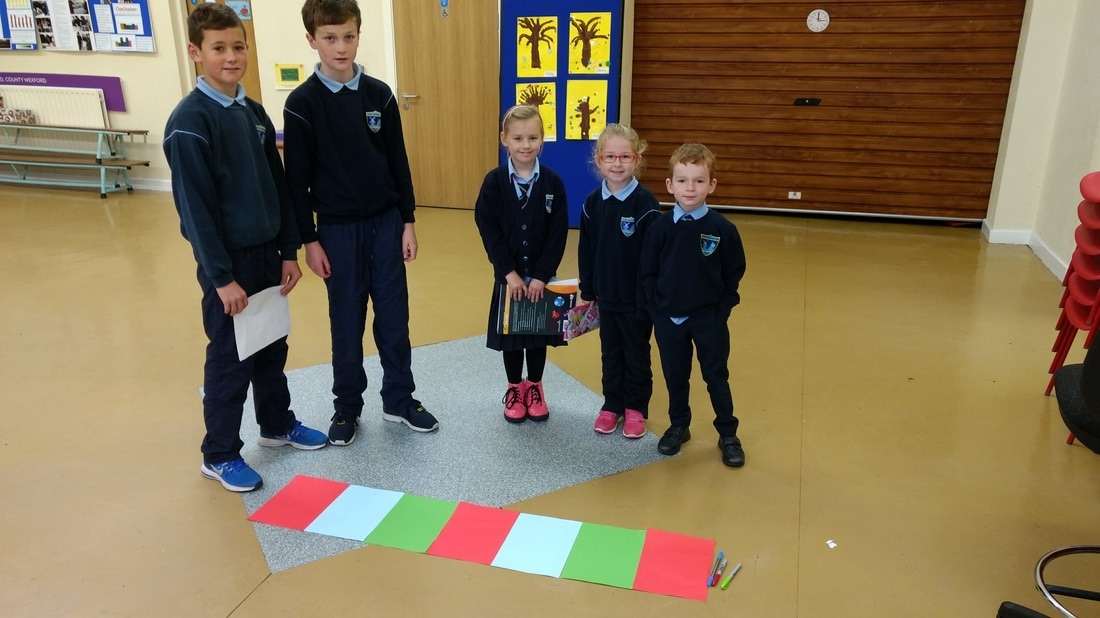
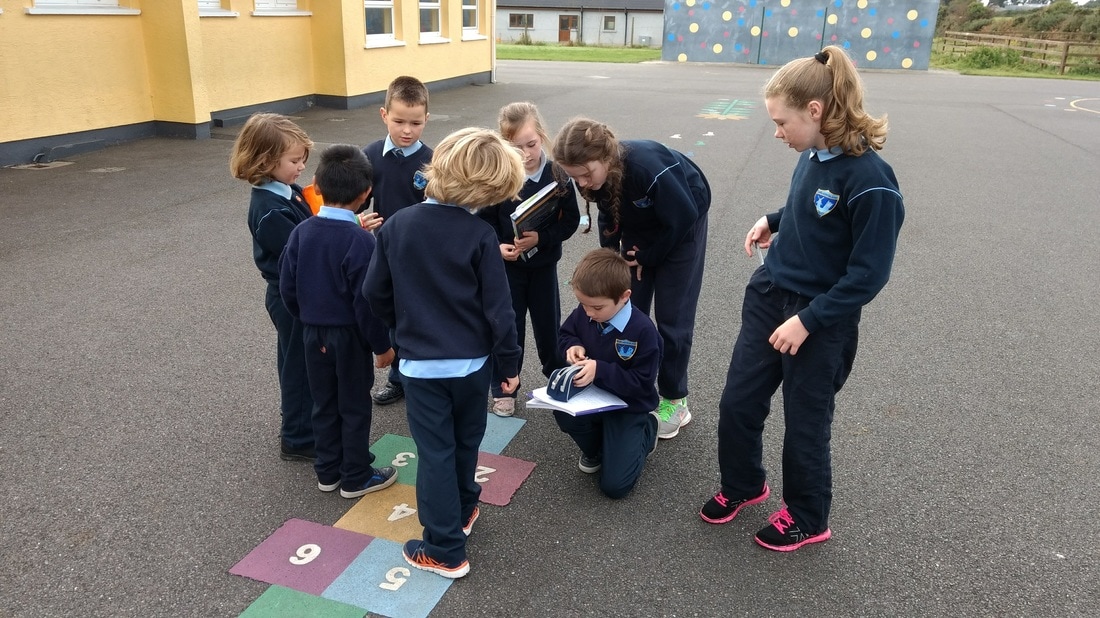
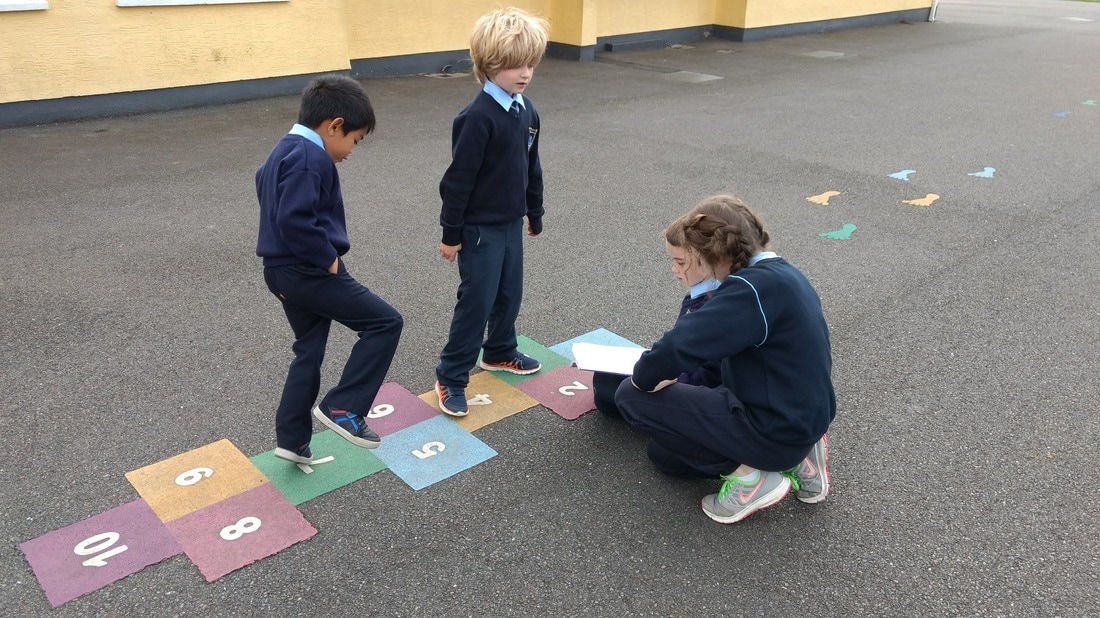
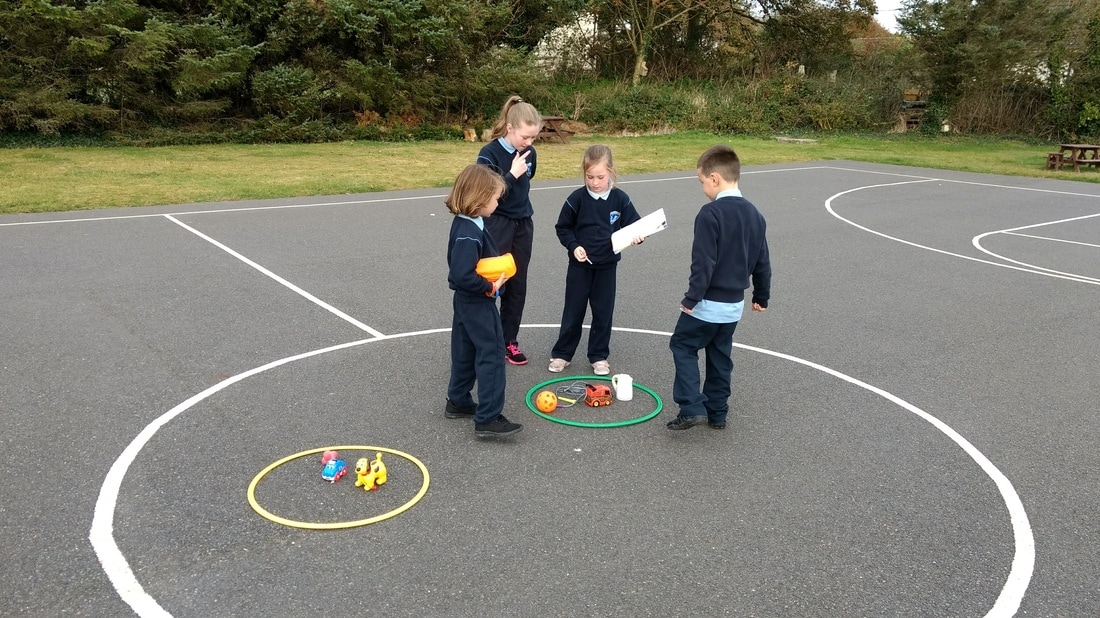
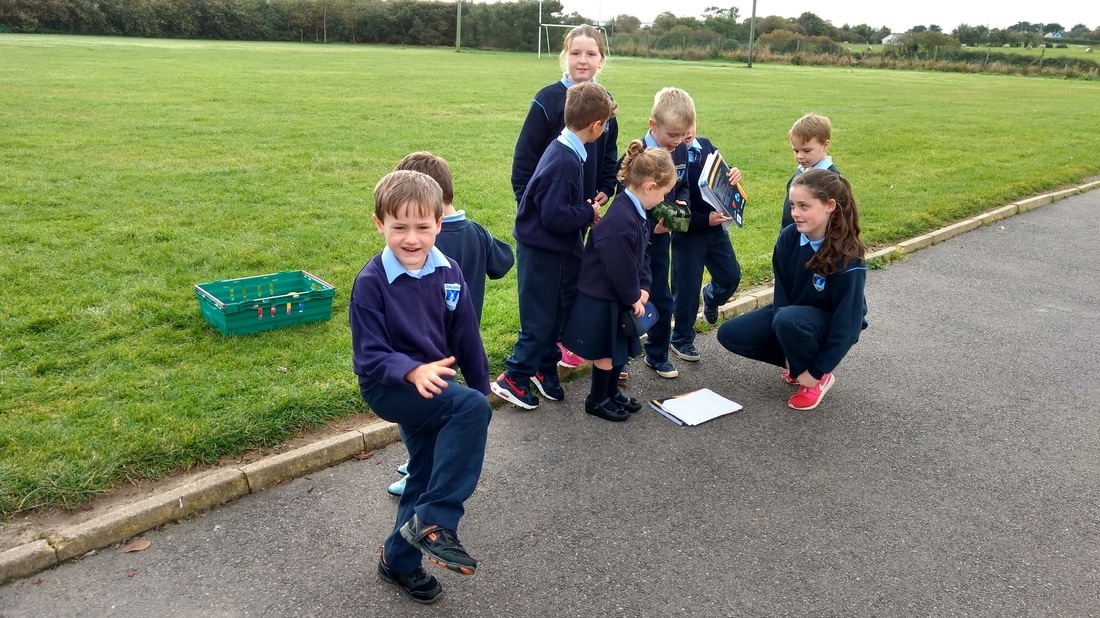
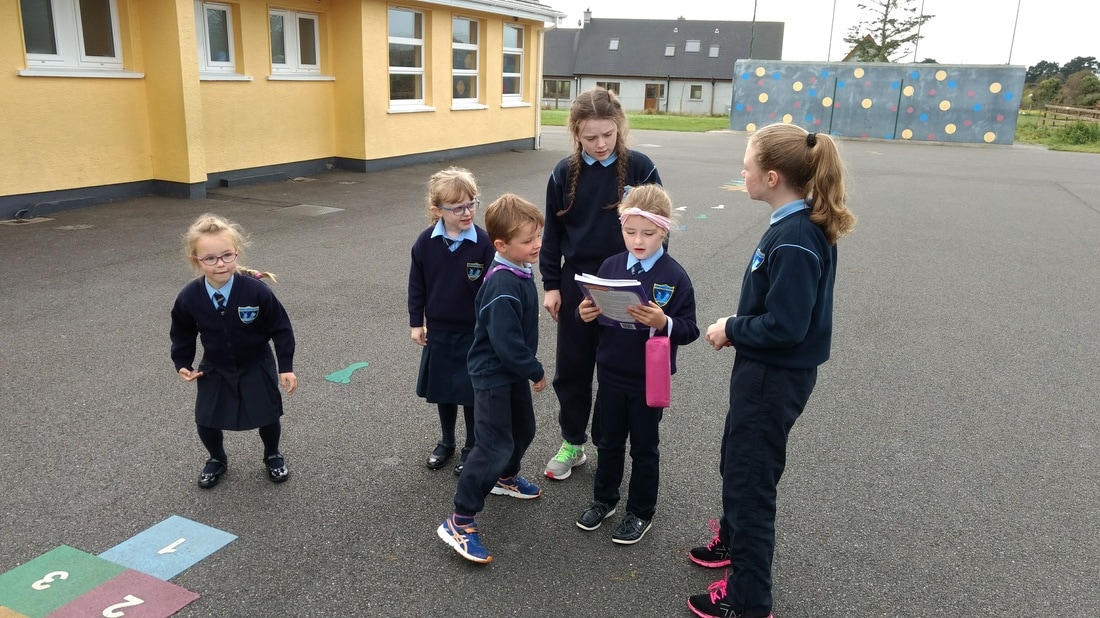
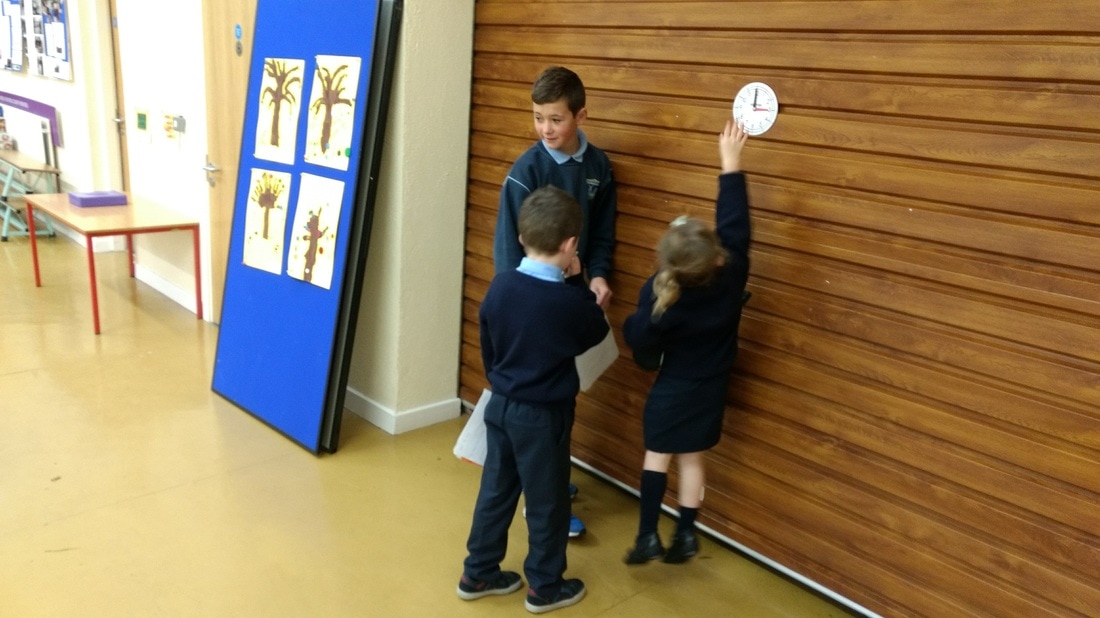
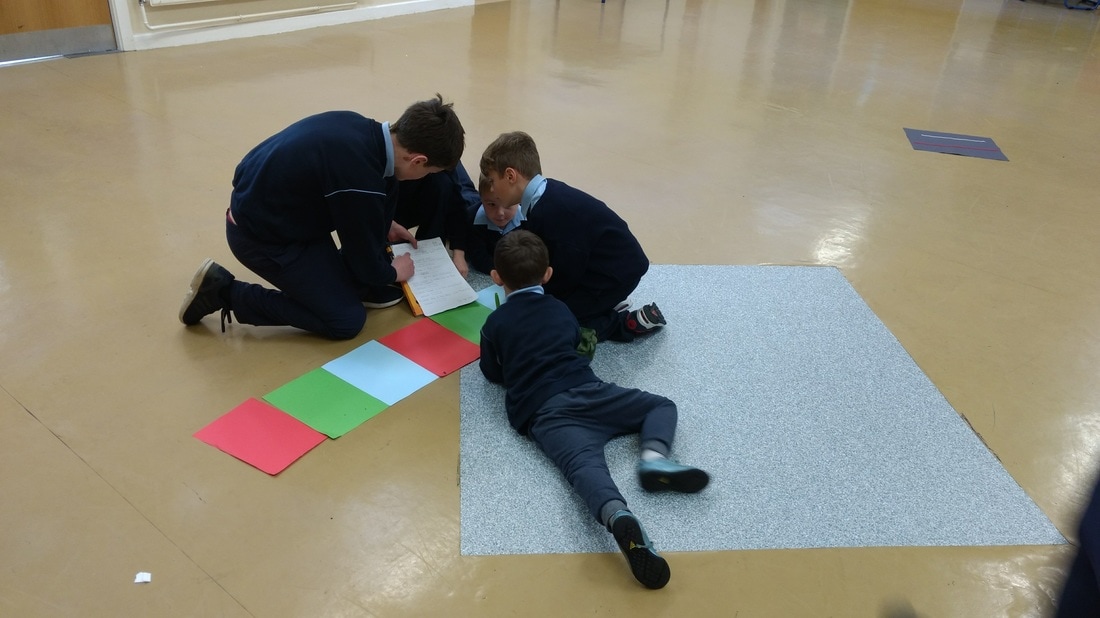
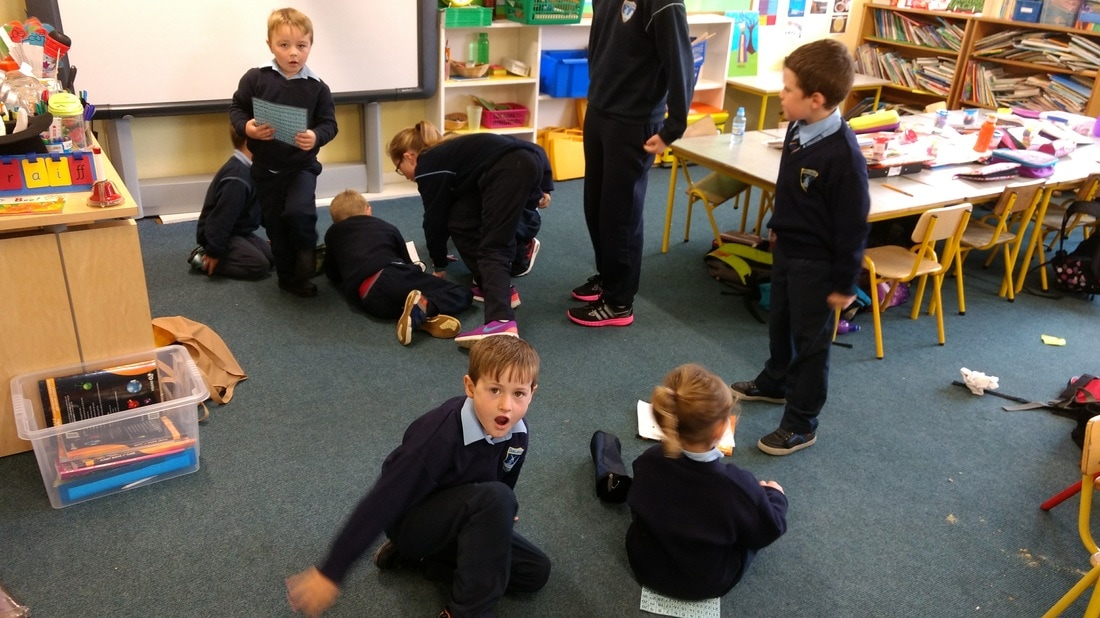
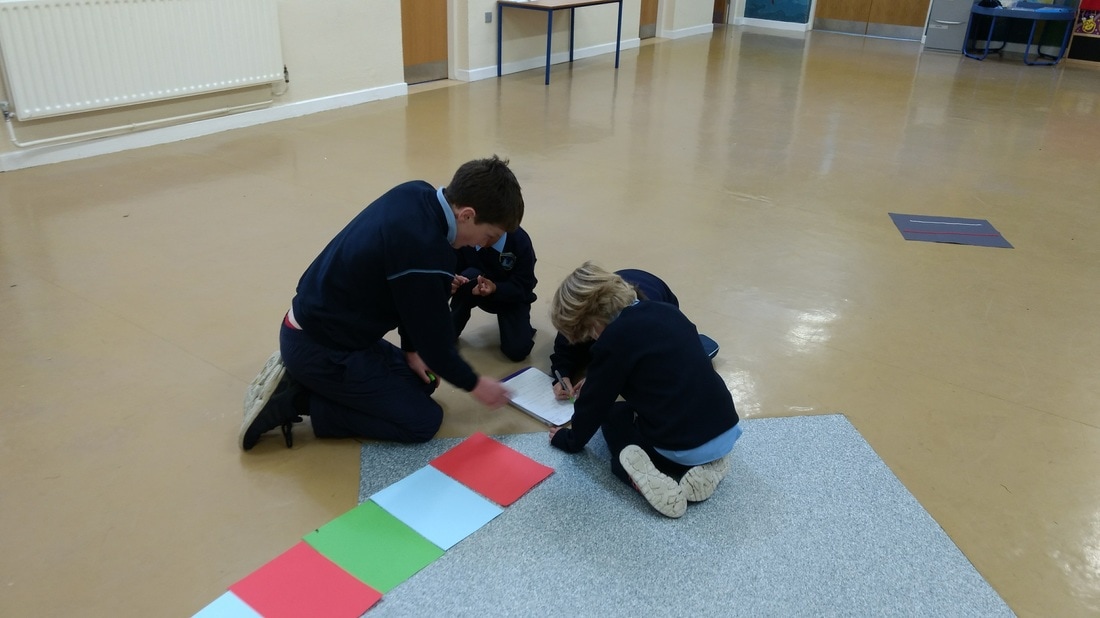
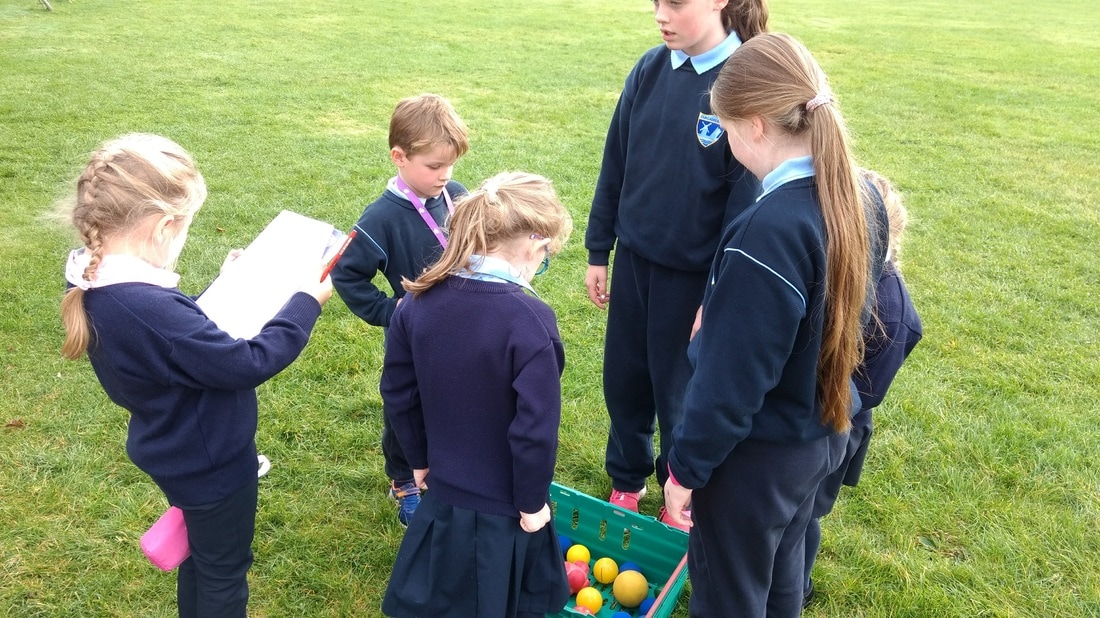
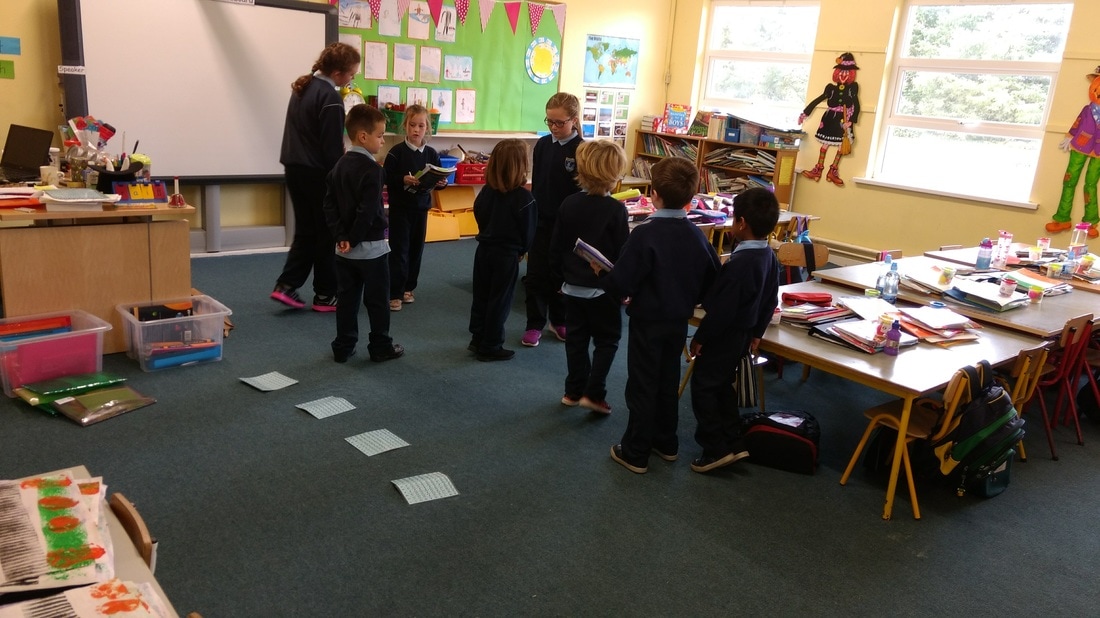
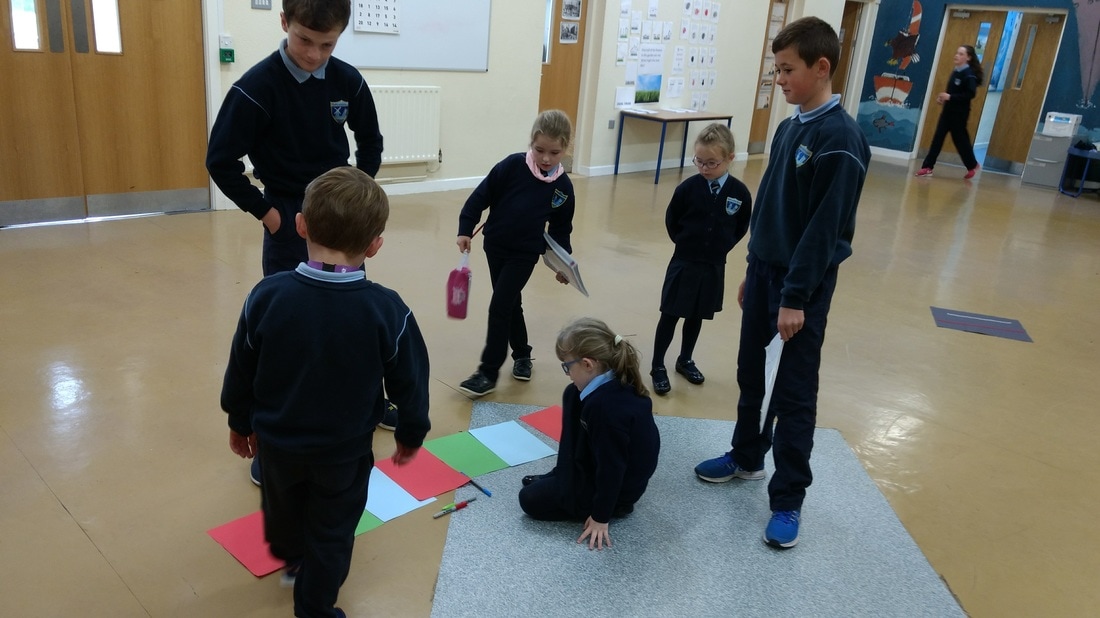
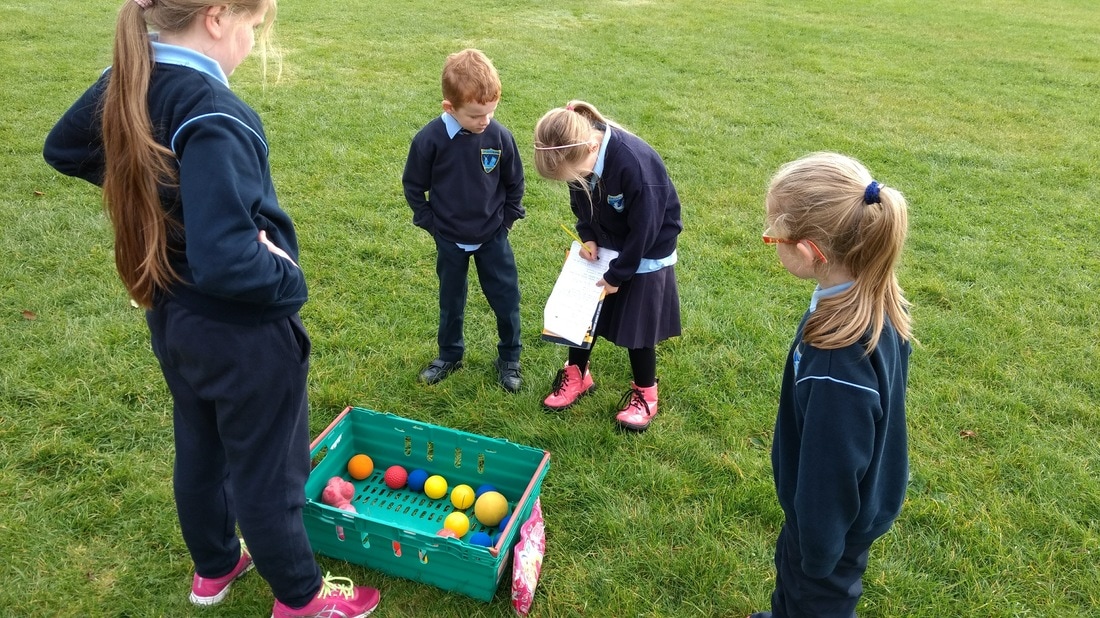
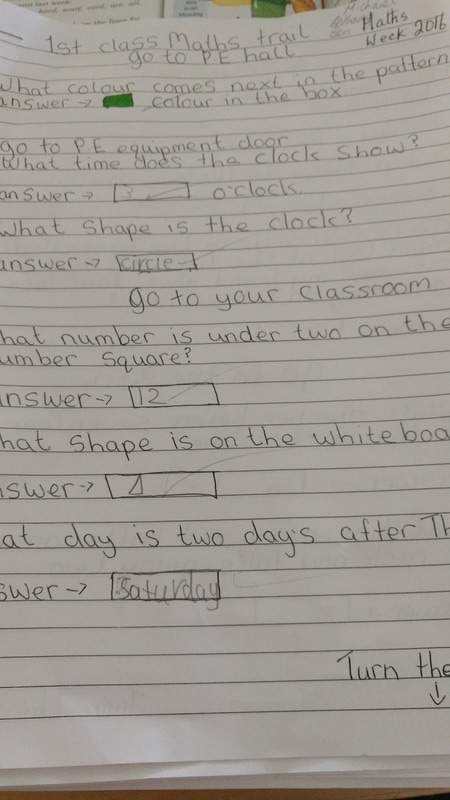
Senior Infants and First class taking part in a Maths Trail designed by Fifth and Sixth Class

Step 5 Stem Showcase
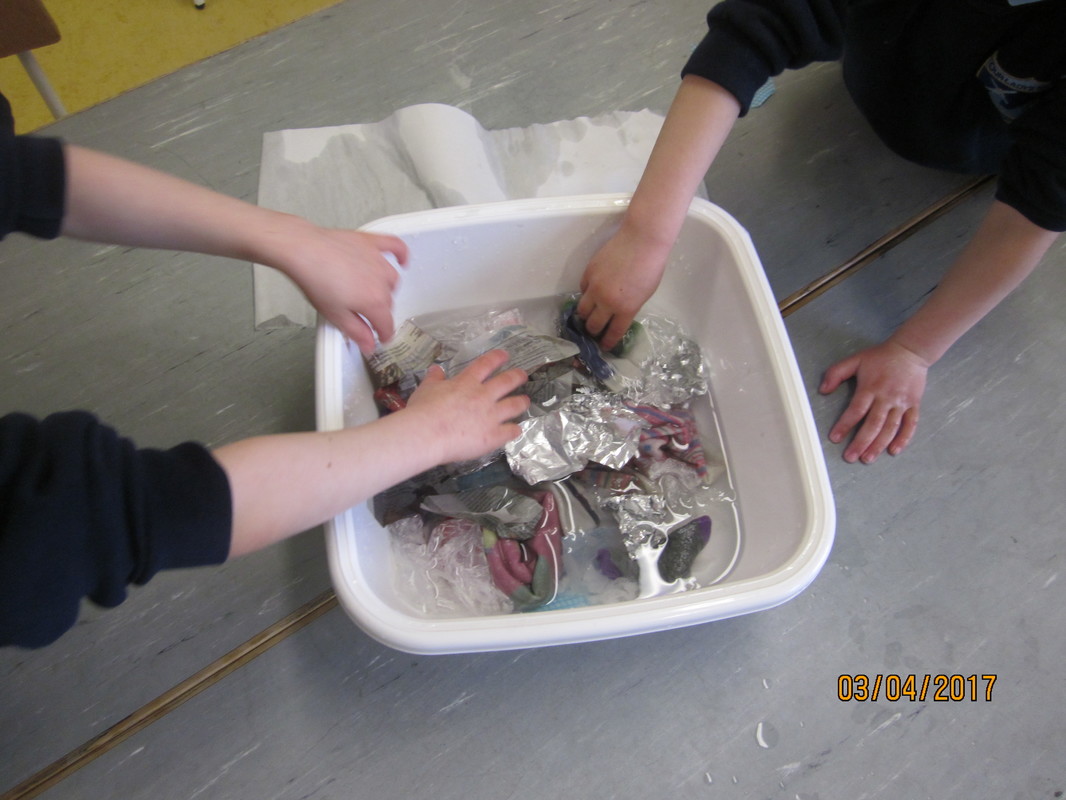
What is the Most Effective Organic Cleaner?
- We surveyed our parents and grandparents to identify organic cleaners they used.
- We identified the following cleaners, Bread Soda, Epsom salts, Lemon Juice, Cider Vinegar and White Vinegar.
- We then swabbed a table, having cleaned it with the various agents, we then observed the results.
- The class split into three groups. Each group split a board into five parts and cleaned each part with a different agent. The various parts were swabbed and put on the agar inside the Petri-dish.
- We designed and made our own incubator using a fish tank, which we insulated.
- We observed the activity in the Petri-dishes and we recorded the evidence in our logs.
- We analysed the results and created our own bar-charts and pie-charts to depict our results.
- We displayed our projected at the RDS Primary Science Fair in January and at a display in the Woodlands Hotel in Waterford in February. We were delighted with the response we got.
